NavigationLink without a List

This page contains sample showing how to use the new NavigationLink without a SwiftUI List. While updating Farness for iOS 16, I found very few examples of using the new Navigation API without a List. In addition, List offers a selection binding that makes it pretty easy to set the selected object for the navigation.

Here is how I handled both the selection and navigation without using List. First, create a navigation data structure to handle navigation when the user taps on a saved map.


struct SavedMapNavigation: Equatable {
    var map: Map?
    
    init() {}
    
    init(map: Map) {
        self.map = map
    }
}

Add a state variable to the SwiftUI view for the navigation object.

@State private var savedMapsNavigation = SavedMapNavigation()

The SavedMapsView is a 2 column ScrollView with a LazyVGrid of Images. While looping over the saved maps, it creates NavigationLinks and sets the value to the map.


ForEach(maps) { map in
    NavigationLink(value: map) {
        Image(uiImage: UIImage(data: map.imageData!)!)
            .resizable()
            .frame(width: cellWidth, height: cellWidth)
    }

The simultaneousGesture view modifier is used to update the navigation object with the selected map. This is required for both the navigation link and tap gesture to happen together, otherwise one will override the other.

.simultaneousGesture(TapGesture().onEnded({
    savedMapsNavigation = SavedMapNavigation(map: map)
}))

The onChange modifier is used to send a didSelectMap Action to the Reactive Store in order to update the App State with the selected map.

.onChange(of: savedMapsNavigation, perform: { newValue in
    if let savedMap = newValue.map {
        store.dispatch(.didSelectMap(savedMap: savedMap))
    }
})

Lastly, the navigationDestination modifier tells the Navigation API that DetailView is the destination for the selected map.

.navigationDestination(for: Map.self) { map in
    detailView
}

Here’s the body View that should help show how the navigation and selection works with a ScrollView, and not a List.

@State private var savedMapsNavigation = SavedMapNavigation()
    
    var body: some View {
        GeometryReader { geometry in
            ScrollView {
                LazyVGrid(columns: columns) {
                    let width = geometry.size.width
                    let cellWidth = width / 2
                    
                    ForEach(maps) { map in
                        NavigationLink(value: map) {
                            Image(uiImage: UIImage(data: map.imageData!)!)
                                .resizable()
                                .frame(width: cellWidth, height: cellWidth)
                        }
                        .contextMenu {
                            Button {
                                deleteMap(map)
                            } label: {
                                Text("Delete")
                            }
                        }
                        .simultaneousGesture(TapGesture().onEnded({
                            savedMapsNavigation = SavedMapNavigation(map: map)
                        }))
                    }
                }
            }
            .onChange(of: savedMapsNavigation, perform: { newValue in
                if let savedMap = newValue.map {
                    store.dispatch(.didSelectMap(savedMap: savedMap))
                }
            })
            .navigationDestination(for: Map.self) { map in
                detailView
            }
        }
        .navigationTitle("Saved")
    }

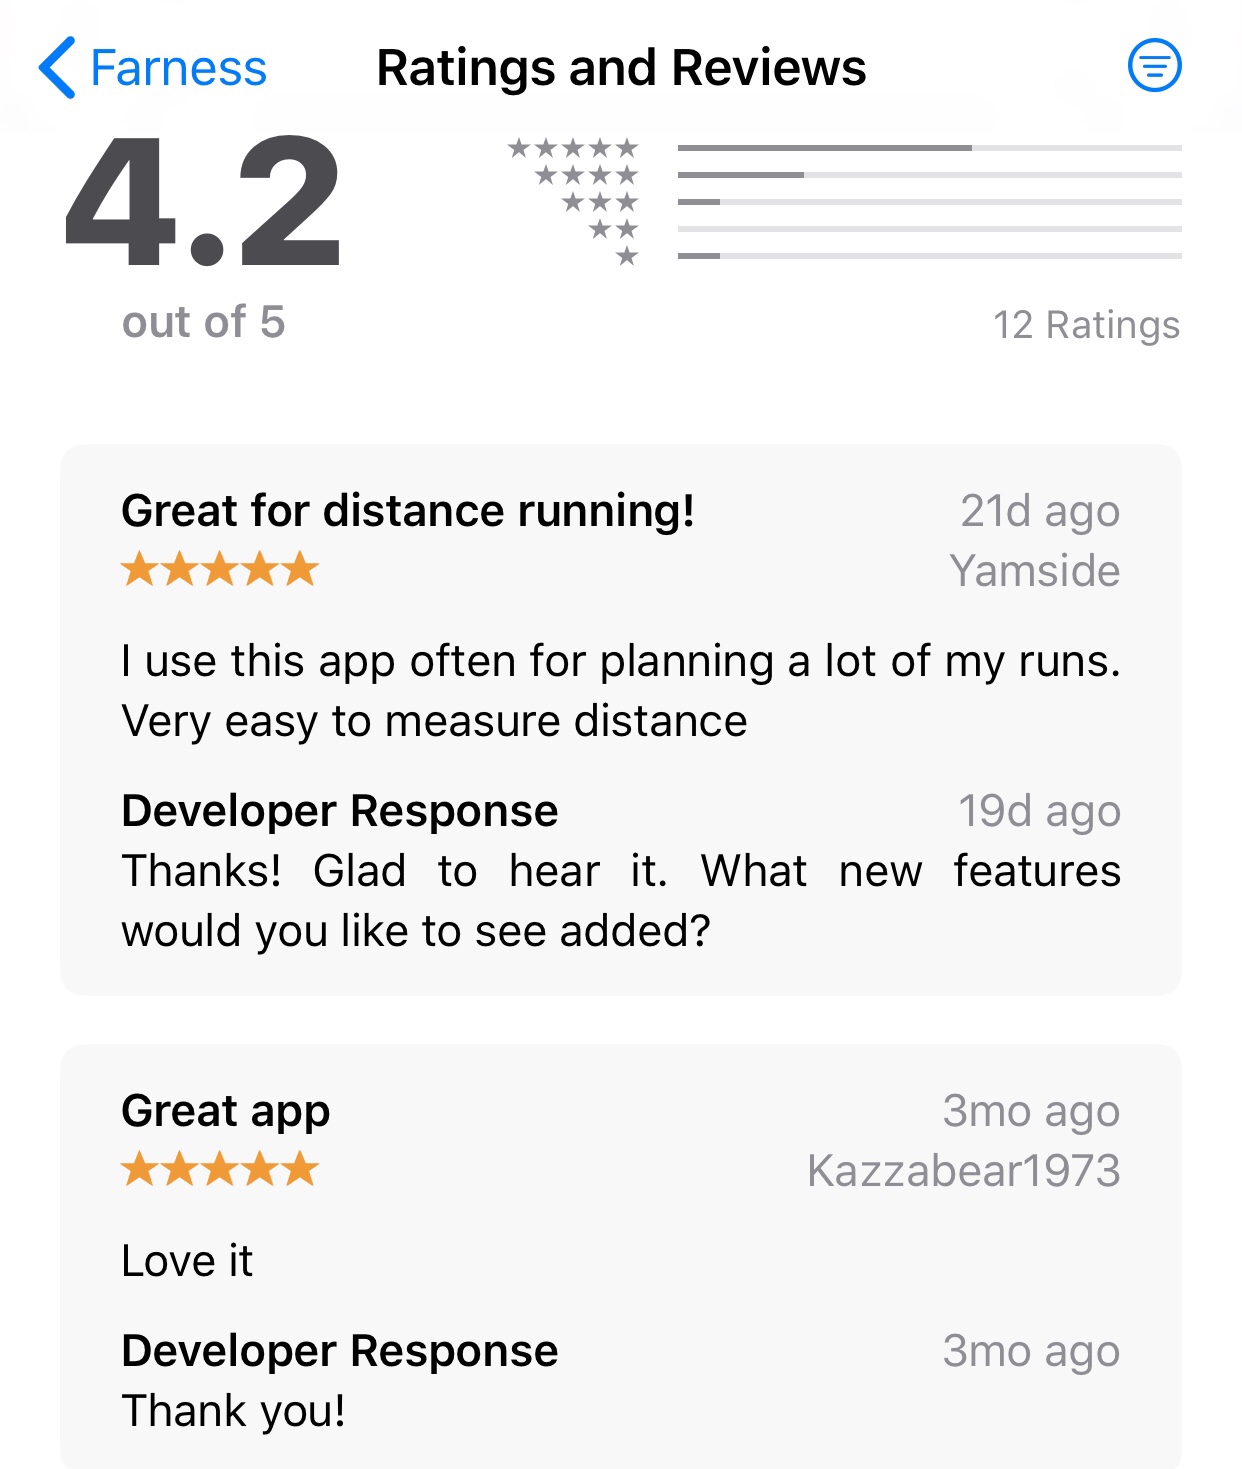
Want to see it in action? Download Farness on the App Store!
https://apps.apple.com/us/app/farness/id918635264

Two and Three Column Split View Controller

The new three column style UISplitViewController behavior in iOS14 was giving me some headaches until I found a solution that works well for both. The code below is based on the example from Mac Catalyst > Displaying the Sidebar.

The 3 high level steps are:

  1. Test the user interface.
  2. Use the new three column style for iPad or two column style for (compact) iPhone.
  3. Test the split view controller style when handling transitions or segues.

Check if the user interface is an iPad and, if so, use the new three column style.

func configureHierarchy(){

    if traitCollection.userInterfaceIdiom == UIUserInterfaceIdiom.pad {
        print("is ipad")
        configureThreeColumnSplitView()
    }
    else{
        print("not ipad")
        configureTwoColumnSplitView()
    }
}

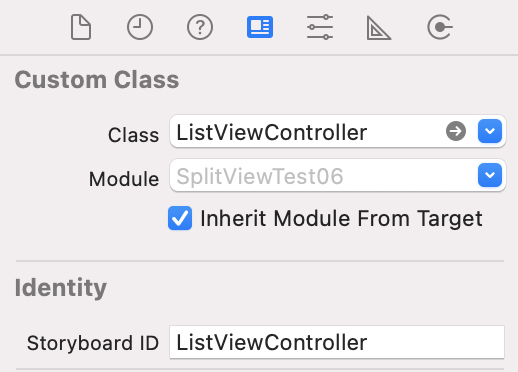
Set up the 3 view controllers: primary, supplementary, and secondary. For my Gov Job Search app, I set up a master (Search Options), supplementary (Results List), and secondary (Job Detail). Set the Class and Storyboard ID for view controller and navigation controller in the Storyboard.

Use the new three column style for the user interface. Use the traditional two column style for the compact (iPhone) user interface.

let splitVC = SplitViewController(style: .tripleColumn)

Load the view controllers for the three column display. The navigation controllers will be added automatically for the three column display. Instantiate the navigation controllers for the two column display. Use the setViewController method to assign the primary, supplementary, and secondary view controllers.

guard let masterVC = storyboard.instantiateViewController(identifier: "MasterViewController") as? MasterViewController else {return}
splitVC.setViewController(masterVC, for: .primary)

Add conditional logic to check if the user interface uses the double or column style to handle transitions or segues accordingly. Use either the preferredDisplayMode or show method to transition between the view controllers.

    if splitVC.style == .tripleColumn {
        splitVC.preferredDisplayMode = .oneBesideSecondary
        listViewController?.updateUI()
    }else{
        splitVC.show(.secondary)
    }

You could use setViewController with a view controller specifically for the .compact view, however when the user rotates the device it may switch back from the compact view to the default split view. I found this Sidebar iOS 14 project helpful, but it wasn’t quite the user experience I wanted when switching back and forth with actual content on the iPhone.

Supporting External Displays

The WWDC 2018 video Adding Delight to your iOS App shows how to support external displays.

Test to see if there is more than one screen available.

UIScreen.screens.count > 1

Observe screen connect or disconnect notifications.

    let notificationCenter = NotificationCenter.default

    notificationCenter.addObserver(self,
       selector: #selector(connectScreenHandler),
       name: UIScreen.didConnectNotification,
       object: nil)     
    notificationCenter.addObserver(self,
        selector: #selector(disconnectScreenHandler),
        name: UIScreen.didDisconnectNotification,
        object: nil)

Add the external screen and window. Configure the window then make it visible.

    if let externalScreen = UIScreen.screens.last {
        externalWindow = UIWindow()

        if let thisWindow = externalWindow {
            thisWindow.screen = externalScreen
            configureExternalWindow()
            thisWindow.isHidden = false
        }
    }

Remove the window and free up resources when disconnecting from the external display.

    externalWindow?.isHidden = true
    externalWindow = nil

Create a custom UI for the external display.

    // create a custom UI for the external display
    externalViewController = UIViewController()

    externalViewController!.view.bounds = windowBounds
    externalViewController!.view.frame = windowFrame

    externalViewController!.view.backgroundColor = UIColor.blue

    thisWindow.addSubview(externalViewController!.view)

Build and Run. Launch the Simulator. Select Hardware, External Displays, and then a display option. You should see a custom ‘blue’ view controller show up on the external display.

Your custom UI should present ‘public’ information without any UI outlets or controls. You can create a custom view controller with an image view and present the selected image on the external display.

    externalViewController?.imageView.image = image

Download the sample project.

App Store User Reviews

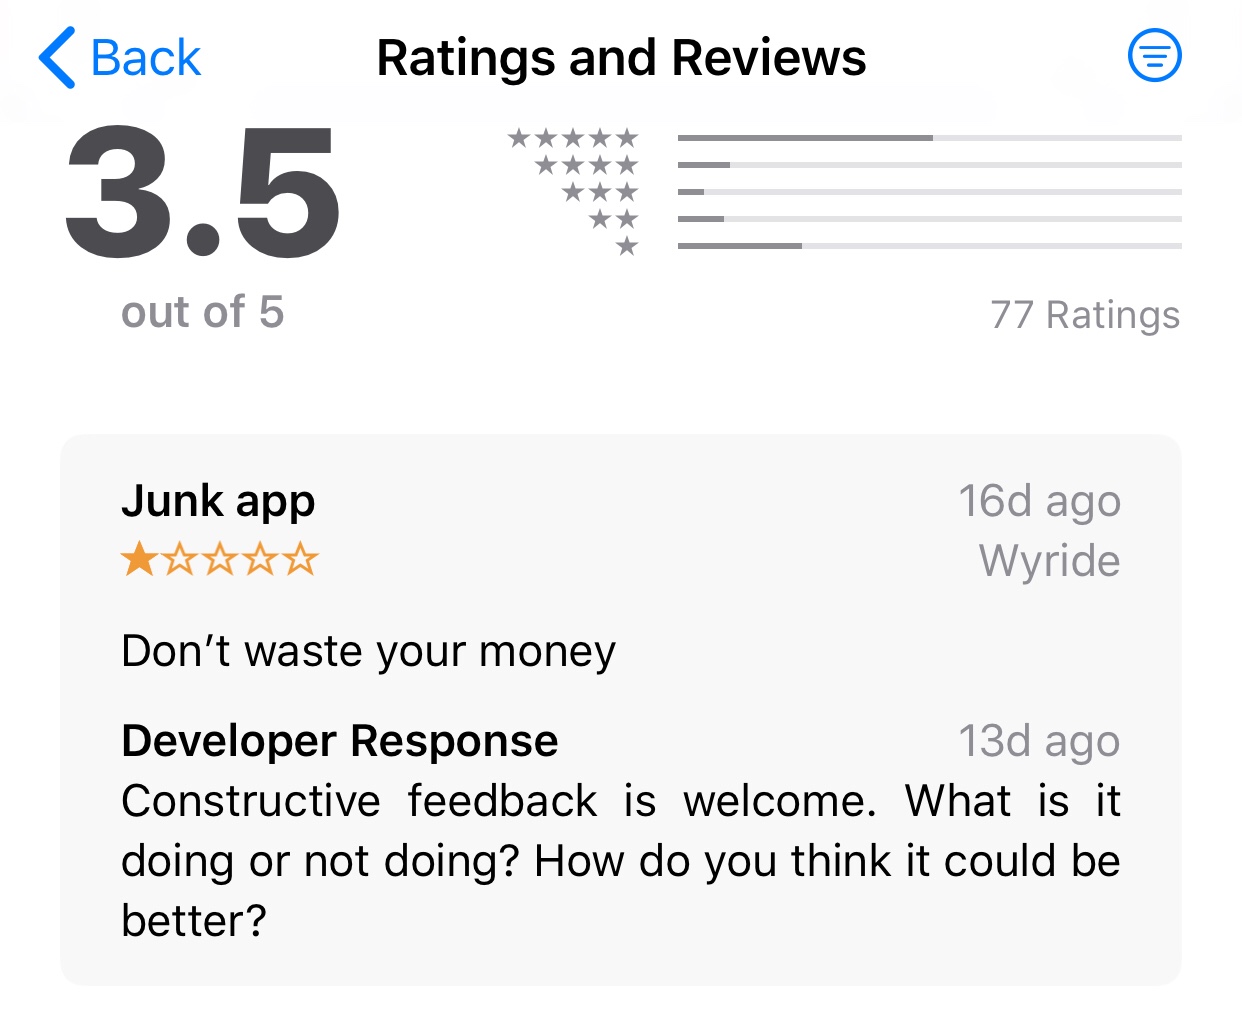
If you have a bad experience with an app then tell the developer what went wrong and how it could be better.

Waste your money?? I know people don’t want to pay for apps. You’ll probably pay more for a cup of coffee you drink once. Do you know how much a MacBook, iPhone, or Developer membership costs? Do you know how much time and effort went into making that app?

Try to offer some explanation or reason for your review. Constructive feedback will help make it better.

Make a developer happy and offer more info about how to make it better and fit into everyday life.

Layout Driven Design

The following code is based on the WWDC 2018 video Adding Delight to Your iOS App and the recipe for layout driven UI.

Find and track the state that affects the UI. Create a variable named feelingCool.


class MyView: UIView {
    // ...
    let coolView = CoolView()
    var feelingCool = true
}

Dirty layout when the state changes with setNeedsLayout(). Update feelingCool and add the didSet property observer.

    var feelingCool = true {
        didSet {
            setNeedsLayout()
        }
    }

Update UI with state in layoutSubview().

    override func layoutSubviews() {
        super.layoutSubviews()
        coolView.isHidden = !feelingCool
    }

Download the attached Xcode project.

New Blog

It’s been a while! Had some technical difficulties the past few months, but my blog is back online. I went the path of least resistance and decided on a brand new install after backing up the old database and site files.

My old site was previously installed in a /blog folder and I was unable to install WordPress into it or upload files using FileZilla.

Command: RMD blog
Response: 550 blog: Directory not empty

I couldn’t delete it or see the files within it, so easiest thing to do was install into a new folder.